The first time I saw it, I honestly thought my friend had changed her tiles.
Her kitchen floor, which I knew as dull and a bit streaky, suddenly looked like a showroom sample: clean lines, soft reflection, grout almost a shade lighter.
No smell of bleach, no fancy spray bottles lying around, just her old bucket and mop by the door.
She laughed when I asked what product she’d bought.
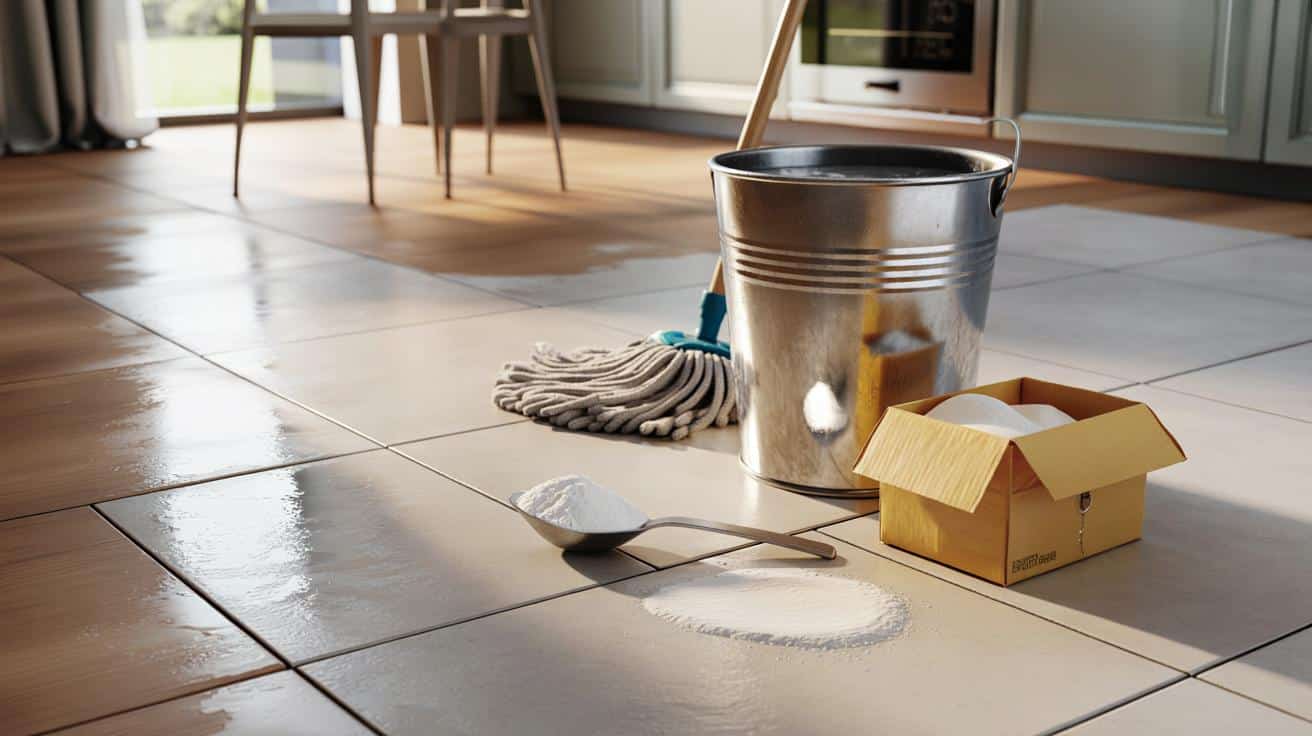
Then she opened a cupboard and pulled out a basic cardboard box you’ll find in almost every supermarket, the kind we usually forget at the back of the shelf.
One spoonful of this powder in her mop water.
That was it.
At first, I didn’t quite believe her.
The pantry powder that wakes up tired tiles
The “magic” product hiding in plain sight is good old baking soda.
Not the industrial cleaner from an ad, just the white powder you usually keep for cakes and fridge odors.
Dissolved in warm mop water, a single spoonful changes the way dirt detaches from tiles.
Greasy film from cooking, footprints, old product residue – they lift far more easily.
The floor doesn’t look covered in something; it looks freed from something.
That’s the big difference between a floor that’s simply washed and a floor that suddenly looks almost new: the shine doesn’t feel fake, it feels natural.
Take Léa, small apartment, big dog, beige tiles.
She used to wash her floor with a classic all-purpose cleaner “for shine”.
At first it looked glossy, then within an hour, footprints, streaks, that sticky feel under bare feet.
One evening she swapped her usual product for a bucket with hot water, a splash of mild dish soap and one level spoon of baking soda.
Same mop, same tiles, same dog.
The next morning, the floor still looked clean.
The greasy veil that trapped dust had gone, so dirt wasn’t clinging as fast.
The tiles didn’t just look cleaner, they stayed cleaner.
There’s a simple reason this pantry powder works so well on tiles.
Baking soda is mildly abrasive without scratching most ceramic or porcelain, and its alkaline nature helps break down acidic grime: food splashes, mud, traces of soap.
➡️ Why old-time gardeners buried a rusty nail at the base of rose bushes
➡️ One bathroom product is enough: Rats won’t overwinter in your garden
➡️ Why using vinegar on your car’s windshield is surprisingly effective, according to cleaning experts
➡️ 4 plants that attract beneficial insects and repel pests in your vegetable garden
➡️ This simple kitchen routine saves time every single day
Most supermarket floor products leave a thin film behind.
That film catches light for a few hours, then turns into a magnet for dust and paw prints.
Baking soda works the opposite way.
It helps strip those old layers so the original surface of the tile can finally reflect light again.
*It’s less about adding shine, more about removing what’s dimming it.*
Exactly how to use one spoonful in your mop bucket
The method is disarmingly simple.
Fill your bucket with 5 to 7 liters of warm water – warm, not boiling.
Add a tiny squirt of mild dish soap, about the size of a coin.
Then comes the key gesture: sprinkle in one level tablespoon of baking soda and stir with the mop.
You’ll see the water turn slightly cloudy, nothing dramatic.
Dip a well-wrung mop in the solution and start from the farthest corner of the room, working back toward the door.
Small sections, slow passes, no need to drown the floor.
Let tiles air-dry without rinsing if they’re standard ceramic or porcelain.
This trick feels almost too simple, which is why many people overdo it the first time.
They pour half the box into the bucket, convinced that more powder means more shine.
Result: dull white haziness once dry, especially on dark tiles.
The same goes for soap – a generous squirt looks satisfying in the water, then leaves streaks.
Another frequent misstep is forgetting to wring out the mop.
If it’s dripping, dirty water pools in the grout and dries in little lakes of residue.
We’ve all been there, that moment when you look at your “cleaned” floor and think it actually looked better before.
The sweet spot is a light solution, a damp mop, and a quick change of water once it turns gray.
“After I started using one spoonful of baking soda, guests kept asking if I’d replaced the tiles,” says Marc, who’s been fighting hard water stains in his entryway for years. “All I did was stop drowning the floor in perfume and start treating it like skin that needed a gentle exfoliation.”
To keep it simple, many people stick this reminder inside a cupboard door:
- One bucket of warm water (5–7 L)
- One small squirt of mild dish soap
- One level tablespoon of baking soda – not more
- A well-wrung mop, no dripping
- Change water as soon as it looks murky
Let’s be honest: nobody really does this every single day.
Most of us do a “real” wash once or twice a week, then spot-clean in between.
Used at that pace, this little pantry powder stops being a hack and quietly becomes a habit.
When floors start telling a different story
After a few weeks of this routine, many people notice something that has nothing to do with chemistry.
They walk barefoot at night and feel the difference: no sticky patches, fewer crumbs catching on the skin, less hesitation to sit on the floor with kids.
The tiles don’t just look freshly installed; they feel available again.
Less plastic perfume, more neutral cleanliness.
Suddenly the floor isn’t a background chore, it’s part of the comfort of the house.
You might even start to see patterns in the tiles you’d forgotten, subtle variations in color you thought were “worn out”.
They were just buried.
| Key point | Detail | Value for the reader |
|---|---|---|
| Use baking soda sparingly | One tablespoon per bucket of warm water is enough | Cleaner tiles without white haze or residue |
| Combine with mild dish soap | Tiny squirt to help cut grease and everyday grime | Floors stay clean longer and feel less sticky |
| Adapt your technique | Well-wrung mop, small sections, fresh water when cloudy | Fewer streaks, grout looks lighter, tiles regain natural shine |
FAQ:
- Question 1Can I use baking soda mop water on all types of tile?
- Answer 1It’s generally safe on ceramic and porcelain tiles. For natural stone (marble, travertine, limestone), skip baking soda and use a pH-neutral cleaner, as alkaline products can damage delicate surfaces over time.
- Question 2Will this method damage grout?
- Answer 2Used in small amounts, baking soda is usually gentle on grout and can even help brighten it by removing surface grime. The risk comes from using too much and not rinsing occasionally, which can leave buildup in the joints.
- Question 3Do I need to rinse the floor after mopping with baking soda?
- Answer 3On standard ceramic or porcelain tiles, you can often skip rinsing if you’ve used just one spoonful. If your water is very hard or you notice a light film, do a quick pass with clear water once a month.
- Question 4How often should I clean my tiles this way?
- Answer 4For most homes, once or twice a week is enough for a full mop. In between, you can spot-clean spills with a damp cloth and a pinch of baking soda instead of doing a whole bucket.
- Question 5Can I mix baking soda with bleach or vinegar in the same bucket?
- Answer 5Skip the mix. Baking soda with a bit of dish soap in water is enough for daily cleaning. Vinegar and bleach have their own uses, but they shouldn’t be thrown together randomly, and vinegar can react with baking soda and cancel out its effect.